Now we will program the device to get it talking to IoT Hub.
-
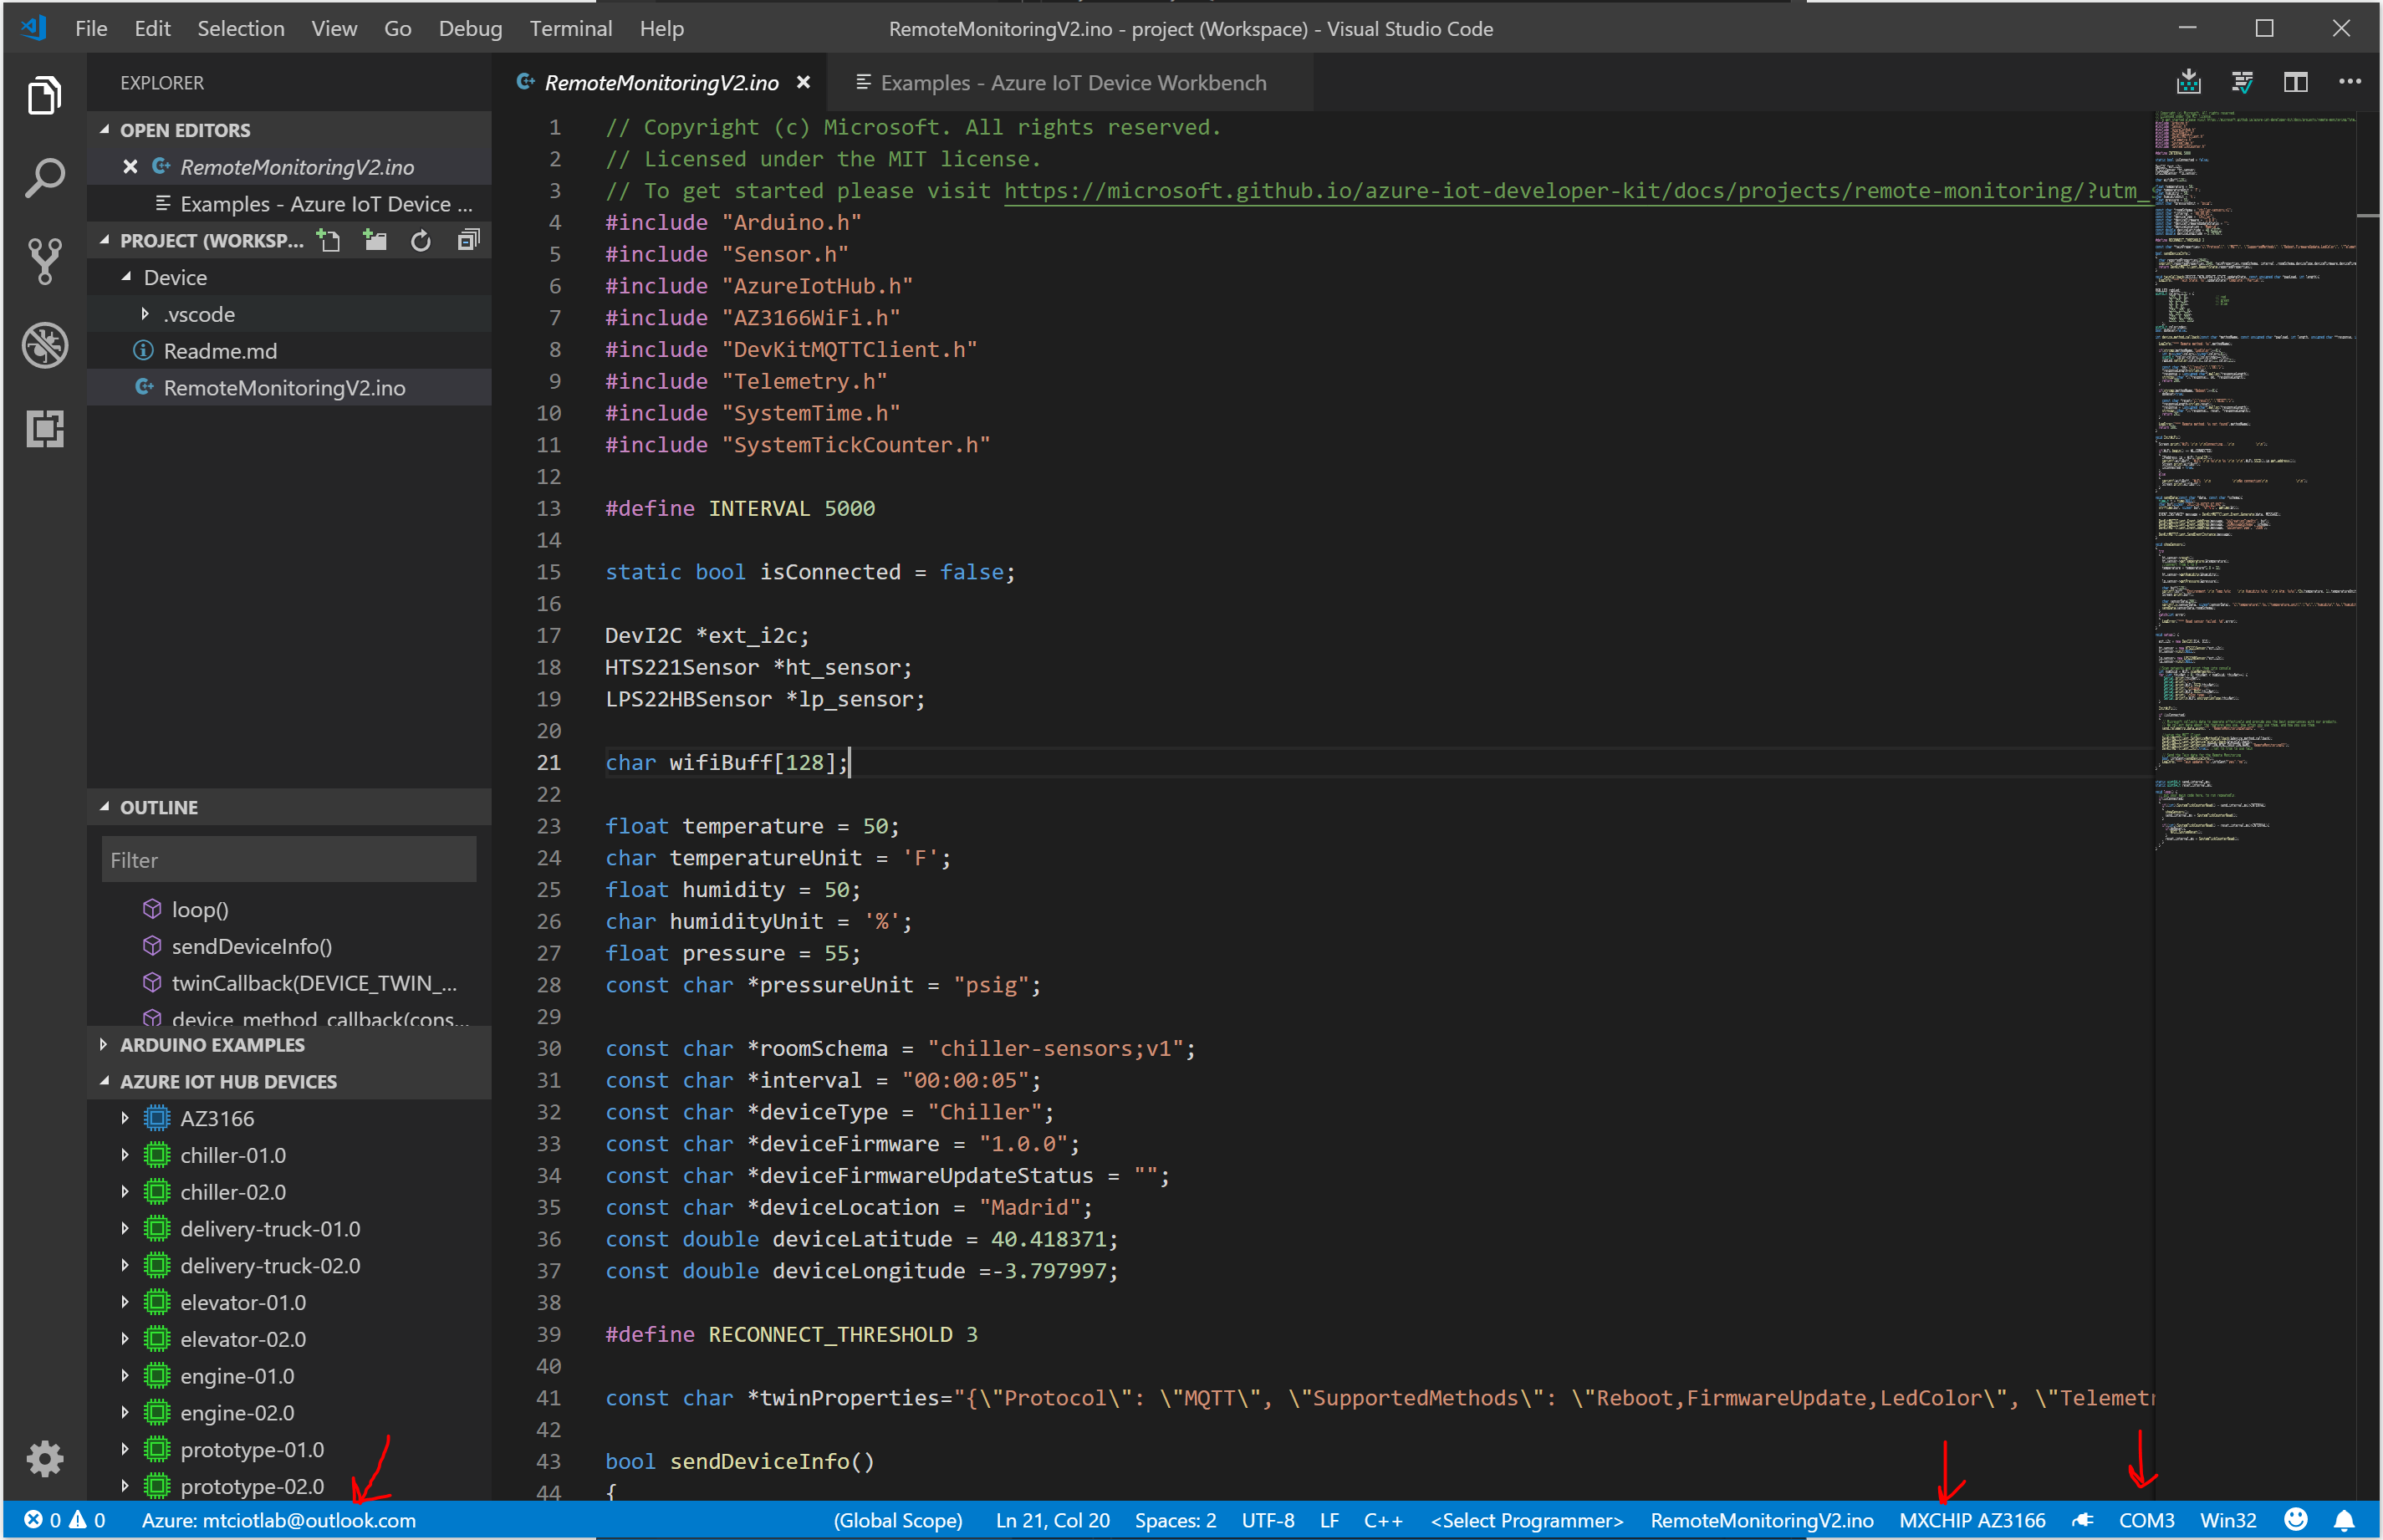
In the bottom-right status bar, check that MXCHIP AZ3166 is shown as the selected board and the serial port with STMicroelectronics is used.

-
In the new opened project window, click F1 to open the command palette, type and select Azure IoT Device Workbench: Provision Azure Services. Follow the step by step guide ensuring you select your existing Resource group and IoT Hub to finish provisioning your Azure environment.
-
Click F1 to open the command palette, type and select Azure IoT Device Workbench: Configure Device Settings, then select Config Device Connection String then Select IoT Hub Device Connection String. This will configure your device for Azure.
-
If prompted, enter the device connection string you saved in Notepad earlier.
-
On the MXChip when prompted in the Visual Studio Code UI at the bottom right, hold down button A, push and release the reset button, and then release button A. Your MXChip will enter configuration mode and save the connection string.
-
Click F1 again, type and select Azure IoT Device Workbench: Upload Device Code. It will start to compile and upload the code to MXChip.
If you get any firewall prompts, allow them.
The MXChip will reboot and start running the code. In Visual Studio you should see the device turn from blue to green in the Azure IoT Hub Devices area, if it doesnt hit the refresh icon next to the title text.