We now need to get the IoT device provisioned and talking to Azure.
-
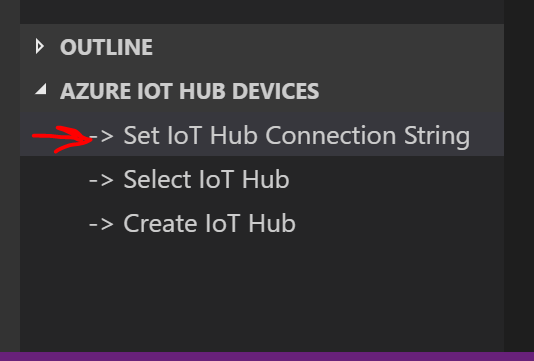
In Visual Studio Code, in the bottom left corner look for “Azure IoT Hub Devices”. Click it then select “Set IoT Hub Connection String”.

A menu should appear at the top asking for the string to me input. For now minimise Visual Studio Code as we need to get the string.

-
Go to the Azure Portal, click Resource Groups on the left blade then click the resource group that contains your Remote Monitoring solution.
-
Click on IoT Hub within the resource group then on the left blade select Shared access policies. Click the registryRead policy to reveal the shared access keys.
-
Copy the Connection string - primary key then go back to Visual Studio Code and enter the connection string in the box that appeared previously. If it has disappeared, repeat the steps above until it shows.
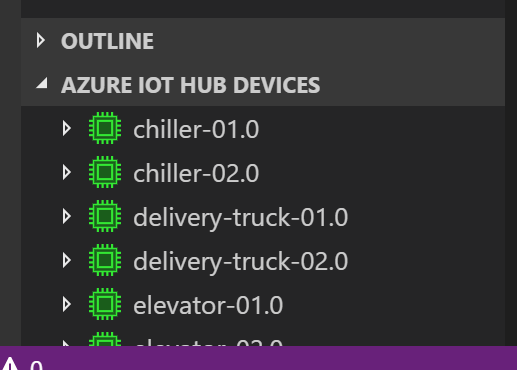
Once entered, you should see a list of green devices appear under Azure IoT Hub Devices.

-
Reconnect your Dev Kit to the computer. VS Code will detect the device and open the Azure IoT Device Workbench.
-
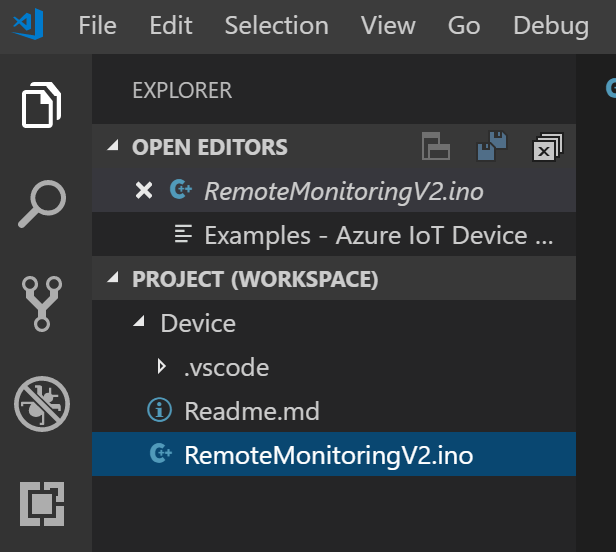
Scroll down and you should see the Remote Monitoring solution. Click Open Sample and it should open up a new window with the project and code sample. Select the default location it gives you for the workbench folder.

We now need to add the physical device to Solution Accelerator.
-
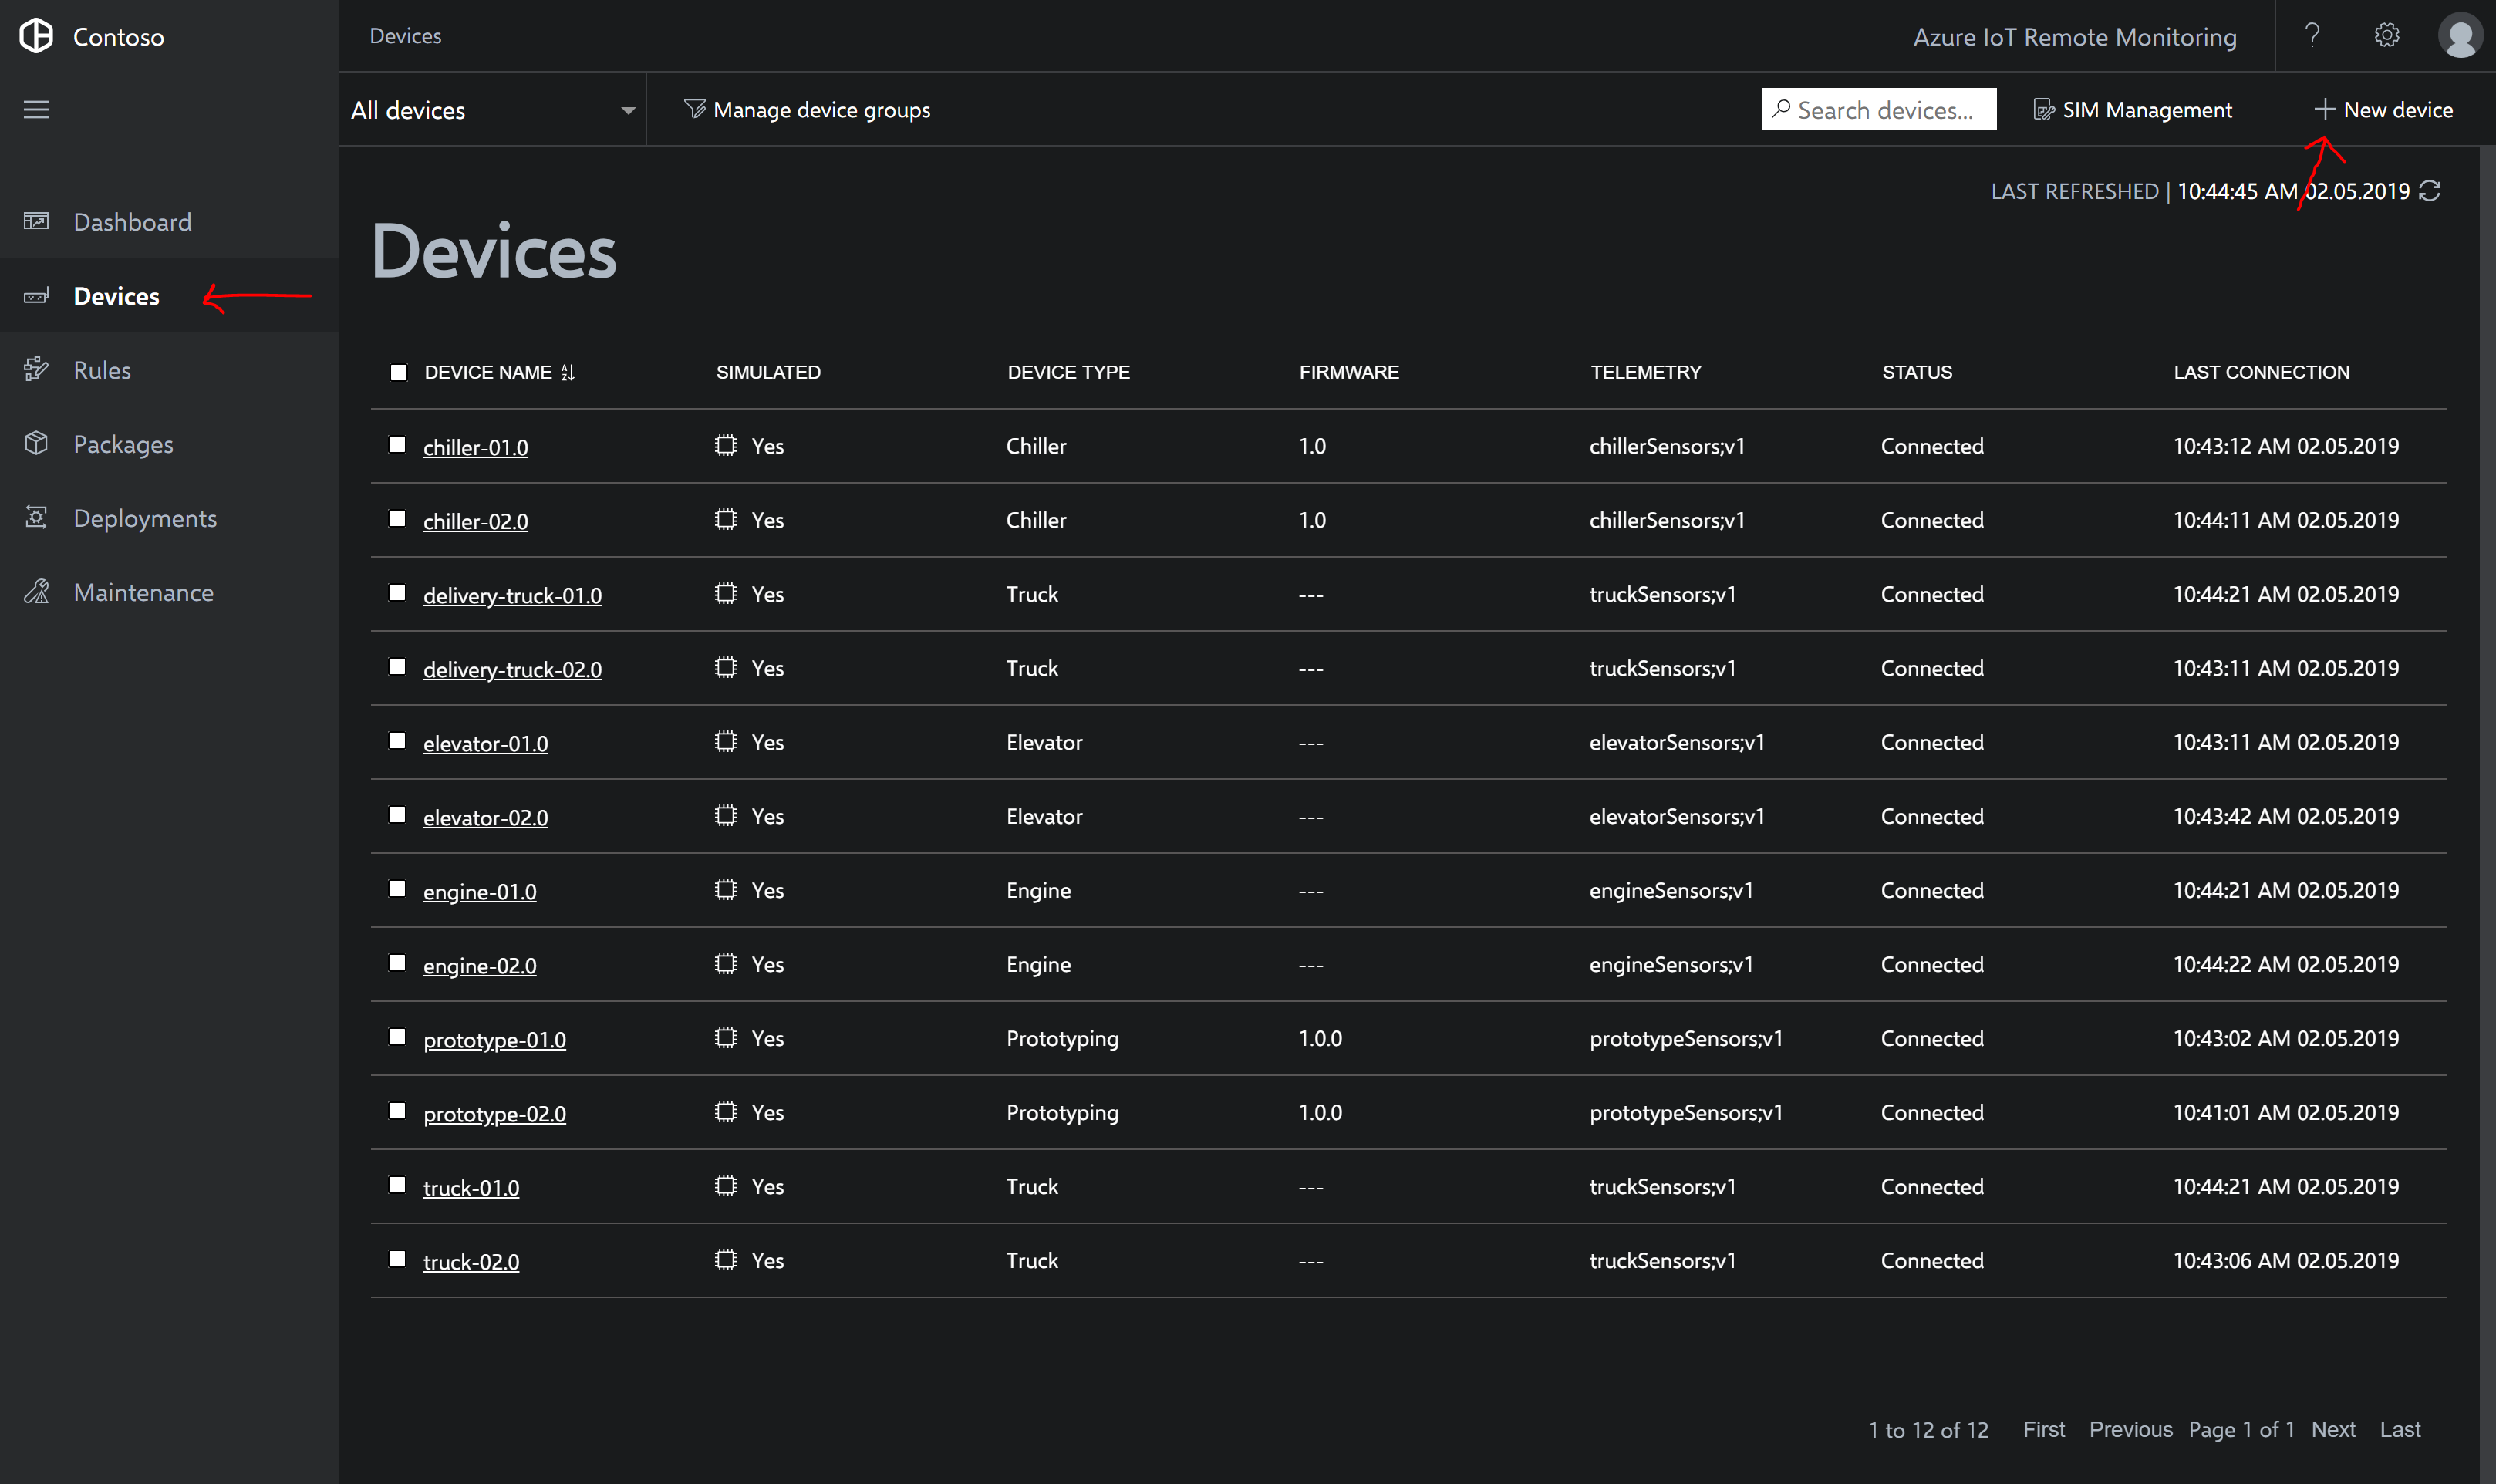
Go back to your Solution Accelerator tab, it should now have provisioned. Click Go to your solution accelerator to go to the portal. Accept any permissions it requests. You should now see the Remote Monitoring dashboard. On the left click Devices then click + New device at the top right.

-
Fill in the New device form with the following details:
- Device: IoT Device
- Type: Real
- Device ID: AZ3166
- Authentication type: Symmetric Key
- Authentication key: Auto generate keys
Click Apply at the bottom. Wait for the portal to finish provisioning the device.
- It should show device connection strings after the provisioning is complete, copy the Connection string primary Key into a Notepad window as we will need this later.
Your device is now provisioned and ready to be used! Next we will build and upload the code to the device