If you are at a Microsoft Technology Centre for this lab. You may skip these steps as they have already been done for you.
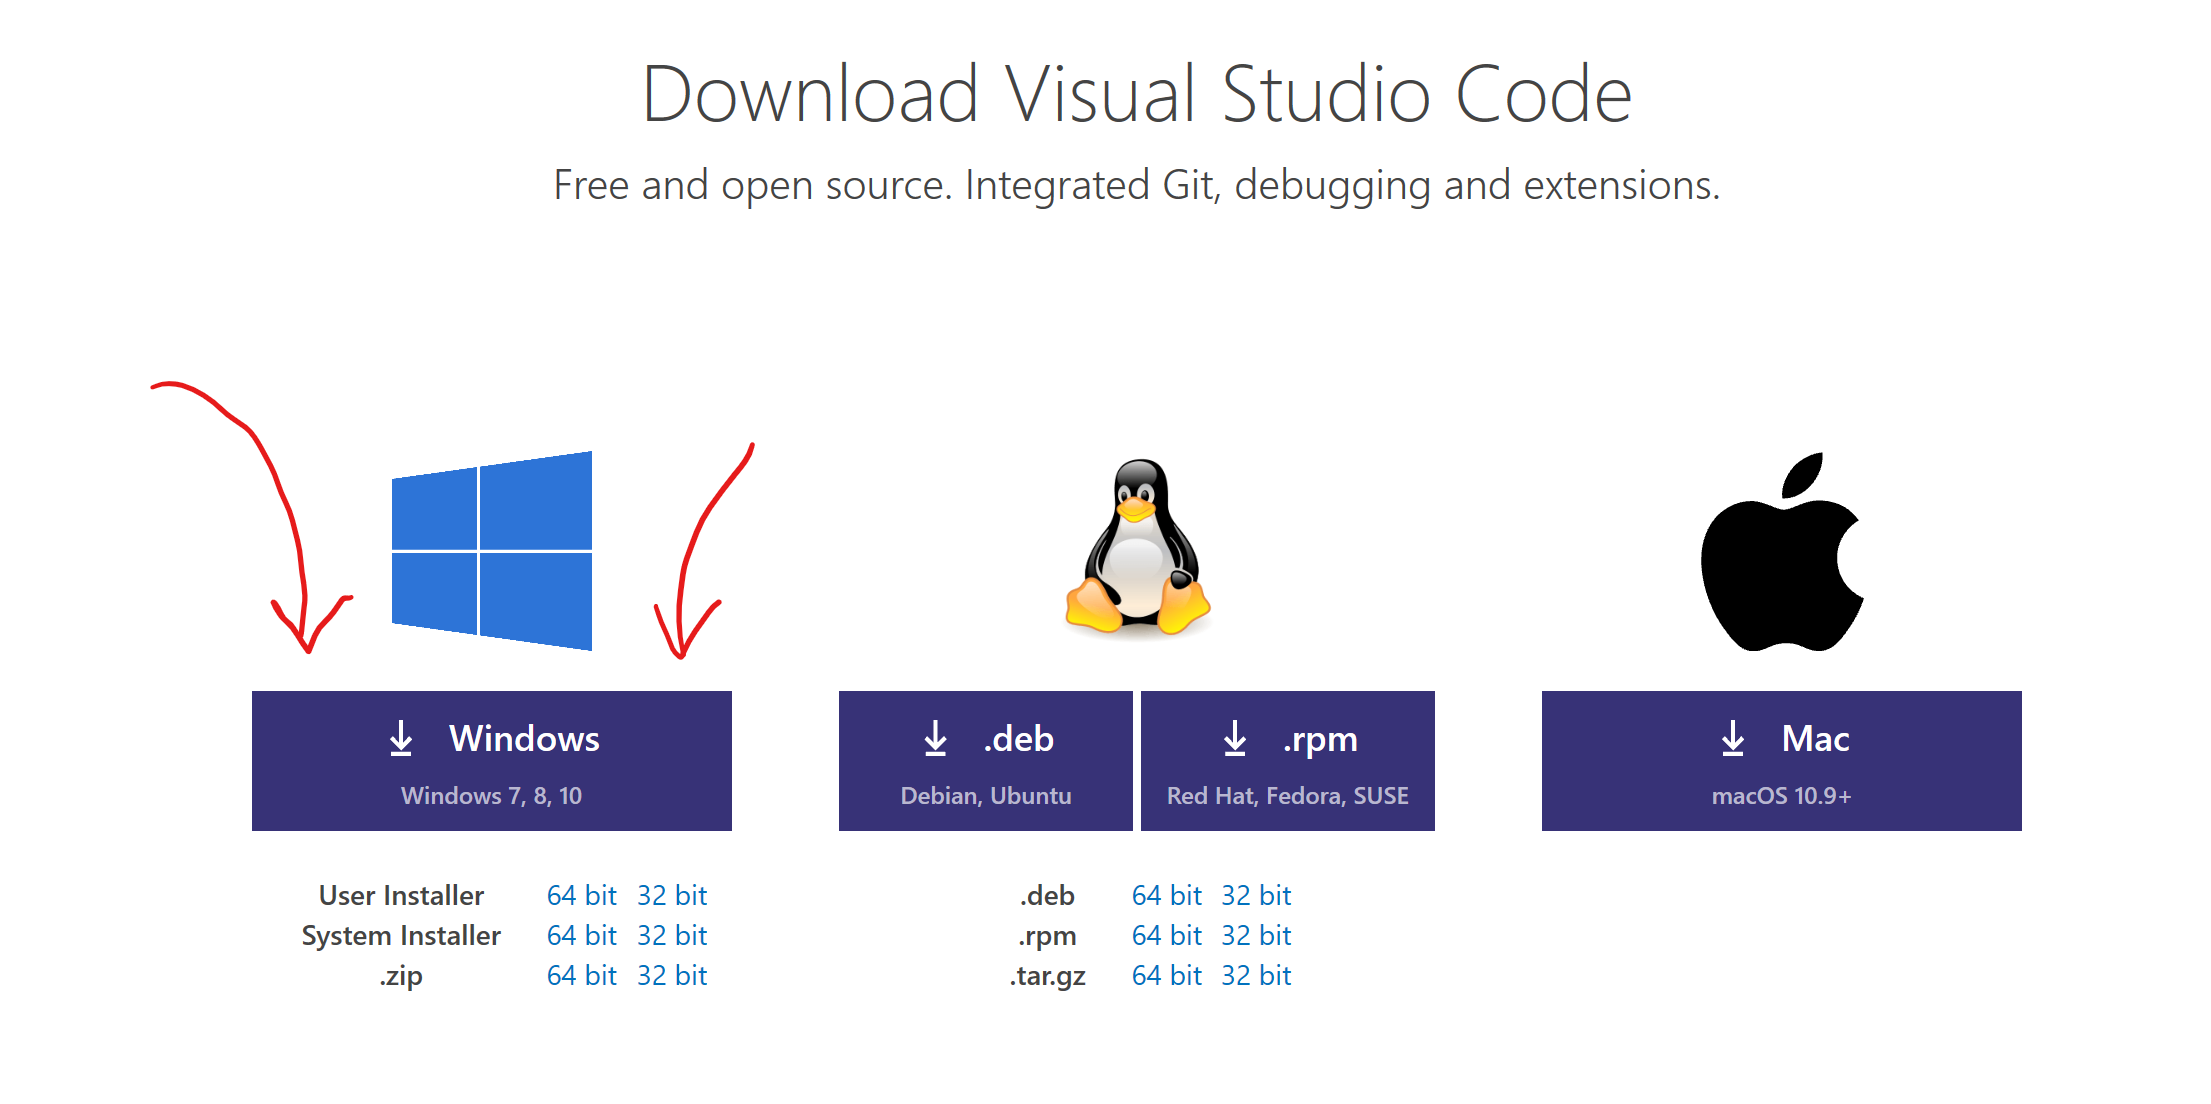
We need to get Visual Studio Code installed. Go here and click the Windows Download.
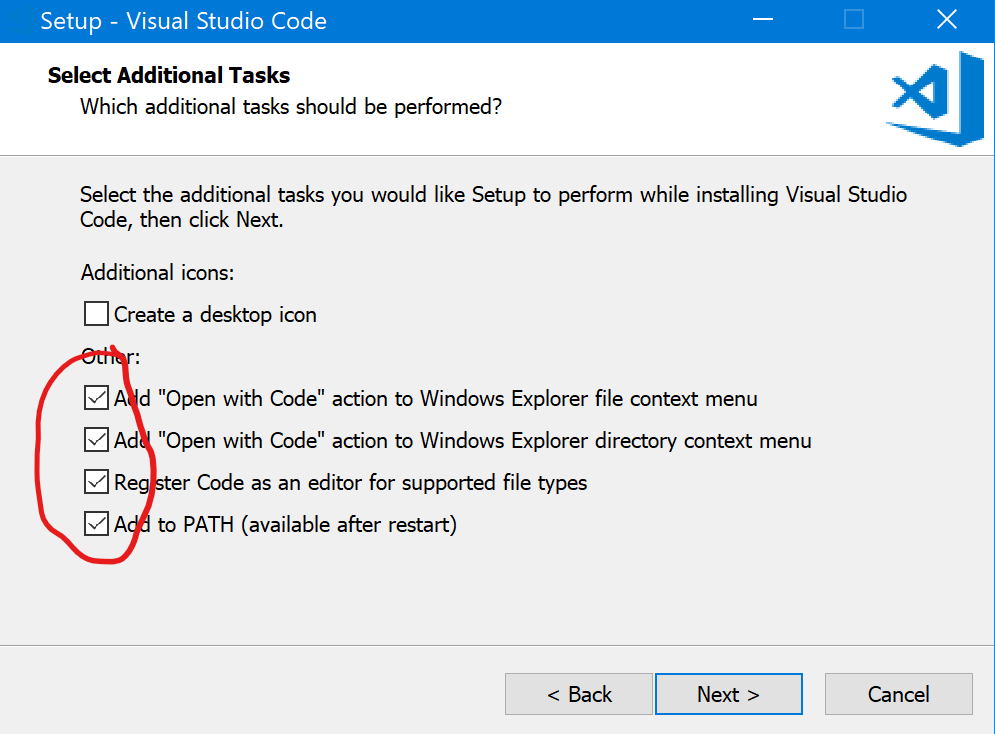
When prompted to Run or Download. Hit Run and continue with the installation. Select the following options when prompted:
We need to install the AzureRM Powershell module to be able to run Powershell commands for Azure, it might already be installed. To check this open powershell and run:
Get-InstalledModule -Name AzureRM -AllVersions
If AzureRM is returned you are good to go!. If not run the following commands in Powershell with Administrative rights.
Install-Module -Name AzureRM -AllowClobber
If you get prompted about it being an unsafe repository, Answer Yes or Yes to All to continue with the installation.
Then we need to make sure the module is loaded. Run the following command:
Import-Module AzureRM
Now we will get the Azure CLI installed.
Go here to download the Azure CLI.
Click Install on Windows then Download the MSI installer. Run this file and continue with the installation.
Once installed, open a command prompt and type az. Scroll back to the top of the page and marvel at the ASCII-art.
To log in type the following and follow the on-screen instructions.
az login
You need to also set which subscription you will be working in. To do this run the following command but edit it to put in your Subscription ID:
az account set --subscription <subscription id>
We are now all setup for the lab!